
Mars Bar Cookie Sandwiches When… You Realize the Mars Rover Has Better Luck Than You Do.
Unleash the Magic of Mars Bars: A Culinary Infusion Adventure
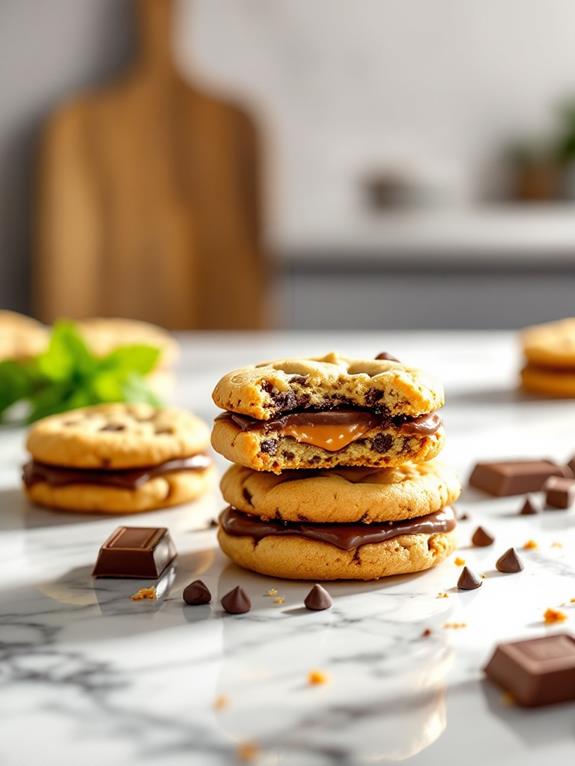
Imagine biting into a warm, gooey cookie, its edges crisp and golden, with molten caramel and chocolate bursting forth in every bite. Now picture that same irresistible flavor infused into your everyday life – not just as a treat, but as a source of unexpected delight and energy. This is the power of culinary infusions, and today we’re diving into a classic: Mars Bar Cookies.
But this isn’t just about baking delicious treats. It’s about exploring the alchemy of flavor, harnessing the natural sweetness of chocolate and caramel to create something truly extraordinary. We’ll delve into the history of this iconic candy bar, uncover the secrets behind its irresistible taste, and guide you through a step-by-step recipe that will transform your kitchen into a haven of sweet indulgence.A Bite-Sized History: From Milky way to Mars Bar
The Mars bar, with its signature nougat, caramel, and milk chocolate coating, has been delighting taste buds as 1932. Created by Forrest Mars Sr., the candy bar was inspired by the milky Way, but with a distinct twist – a chewy nougat center that added a delightful textural contrast.
this simple yet ingenious combination quickly captured hearts and became a global phenomenon. Today, the Mars Bar remains a beloved classic, reminding us of childhood treats and comforting moments of pure indulgence.
Infusing Flavor: The art of Mars Bar Cookies
Baking with Mars Bars elevates the cookie experience to new heights. The candy bar’s unique flavor profile – sweet caramel, creamy nougat, and rich chocolate – infuses every bite with a symphony of textures and tastes.
Here’s how to create your own Mars Bar Cookie masterpiece:
Step 1: Cream Butter and Sugars Together: Begin by creaming together softened butter and granulated sugar until light and fluffy. This crucial step incorporates air into the dough, resulting in tender and chewy cookies.
Step 2: add Eggs and Vanilla: Incorporate eggs one at a time, mixing well after each addition.Then, stir in vanilla extract for a hint of warmth and depth.
Step 3: combine Dry Ingredients Thoroughly: In a separate bowl, whisk together all-purpose flour, baking soda, and salt. Gradually add this dry mixture to the wet ingredients, mixing until just combined. Avoid overmixing, as it can lead to tough cookies.
step 4: Fold in Mars Bar Pieces: Chop your favorite Mars Bars into bite-sized pieces and gently fold them into the dough. This ensures that every cookie is bursting with chocolatey caramel goodness.
Step 5: Scoop and shape Cookie Dough: Using a spoon or cookie scoop, drop rounded portions of dough onto ungreased baking sheets. Leave some space between each cookie to allow for spreading during baking.
Pro Tips for Baking Perfection:
Chill the Dough: For thicker, chewier cookies, chill the dough in the refrigerator for at least 30 minutes before baking.
Don’t Overbake: Keep a close eye on your cookies while they bake. They are done when the edges are golden brown and the centers are still slightly soft.
Beyond the Bite: Exploring Culinary Infusions
The Mars Bar Cookie recipe is just the beginning of your culinary infusion journey. Imagine incorporating chopped Mars Bars into brownies, blondies, or even ice cream for a decadent twist. You can also experiment with other candy bars, chocolates, and fruits to create unique flavor combinations that tantalize your taste buds.
Remember, culinary infusions are about embracing creativity and exploring the endless possibilities of flavor. So go ahead, unleash your inner chef, and let the magic of Mars Bars inspire you to create something truly extraordinary!
FAQs:
1. Can I use a different type of chocolate bar in this recipe?
Absolutely! While Mars Bars offer a classic combination of flavors,feel free to experiment with other candy bars like Snickers,Milky Way,or even Reese’s Peanut Butter Cups for a unique twist.
2. How do I store my Mars Bar Cookies?
Store your cookies in an airtight container at room temperature for up to 3 days. For longer storage, freeze them in a freezer-safe bag for up to 3 months.
3. Can I make these cookies gluten-free?
Yes! Simply substitute the all-purpose flour with a gluten-free baking blend and follow the rest of the recipe as directed.